
Honda 400 Four
Part 3
I've been doing a few bits to the 'Scottish' 400/4 recently as it might be the next bike on the bench. This is a bike I was given in the form of many boxes of bits, following the demise of my Nephew's Father in law who had owned it for many years but had stripped it for refurbishment. I decided to gather all of the parts together from various boxes and cupboards, so that I could check what would be needed for completion: it is after all, approaching 10 years since even I got it. Looking at David Silvers site it would appear that some stuff is starting to get difficult now, unless you want aftermarket or pattern components. As I said at the outset I wanted to use as much as possible of the original bike and had collected all of the expensive tin-ware for other projects ages ago.
As it stands at the moment this is the overall picture of the situation:
Tank and side panels all done and decals fitted
Frame, swinging arm and stands are in Bondaprimer, ready for black gloss
Wheels are rebuilt with new spokes and the original rims re-chromed, hubs polished and new bearings fitted
Yokes primed and ready for final coats
Headlamp shell painted
All chrome and zinc plating done
Engine stripped ready for painting and new cam chain - will be fitted as a short motor and built up in the frame
Outer engine cases polished
Rear brake plate polished and assembled ready to fit.
New parts on shelf:
Full genuine exhaust system and silencer
New genuine front and rear guards
Fork stanchions re-chromed and sliders polished ready for re-assemble
4 new genuine indicators and lenses
New genuine headlamp and indicator brackets
New grab handle
Pattern Seat as original
New rear shock absorber bodies and re-chromed springs
Note for those who can't be bothered to do detail work - leave the room now if you don't want to see the result!
I unearthed the battery box/air filter unit which still had all of the electrical fittings attached and stripped it to a bare unit. The casing was in a slightly sorry state and I had a choice of sand-basting or stripping and cleaning it. It's such a thin assembly that I decided to do it carefully myself with paint stripper, then Jenolite to neutralise the rust. Yes, it's a time consuming process, but with a little care and some suitable background music, it's amazing what can be achieved. Some of the flaking paint and rust comes away very easily with a combination of scrapers and small old screwdrivers. Sometimes the process of sand-blasting (which always produces heat) can distort components like this and there are some very thin harness clips which could easily disappear altogether.
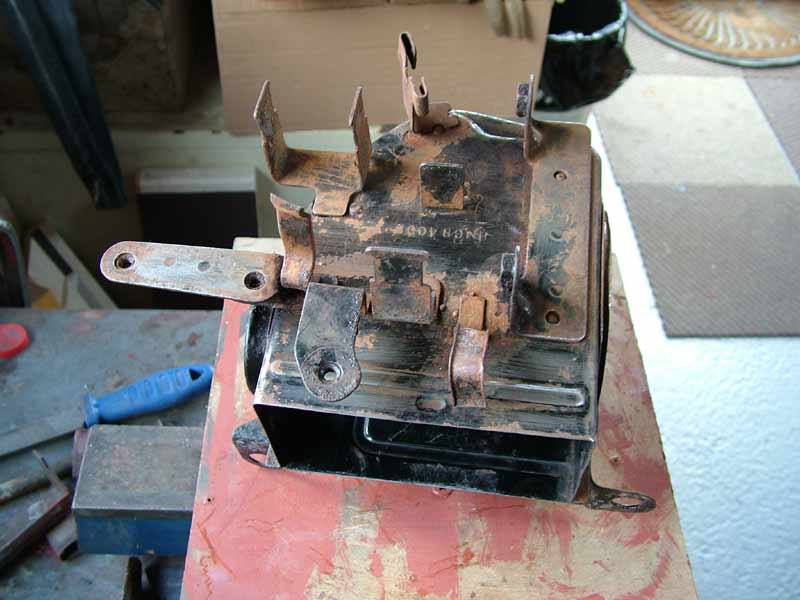
This is what I started with - not too bad but as I have said it was probably not as bad when first removed all those years ago and stored in that very damp shed with old sheets covering it all.
After removing the electrical components the extent of the rust can be seen - it's not gone deep into the metal but certainly needs removing and neutralising
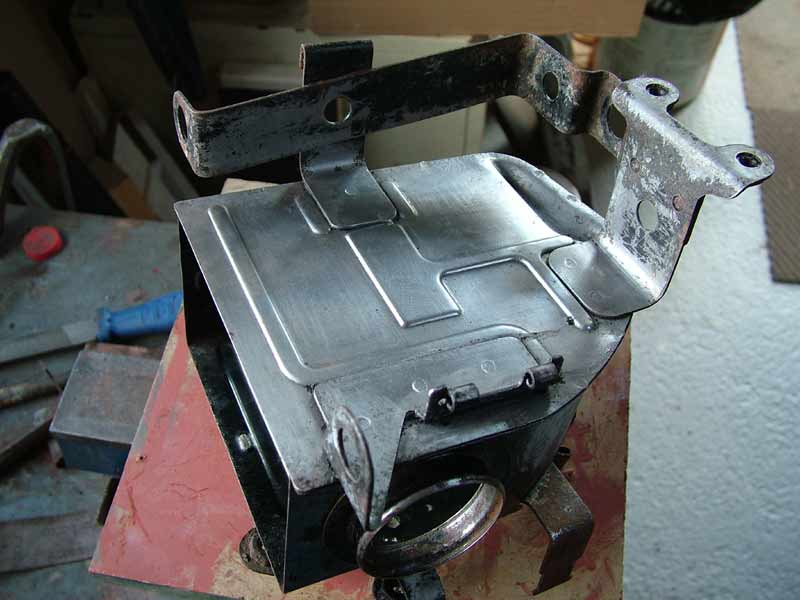
One application of paint stripper and then Jenolite applied by brush and then scrubbed with stainless wire wool brings this result. The action of the Jenolite is to turn the iron oxide (rust) into iron phosphate which acts as a base primer. After the first application and allowing a bit of time for drying, the original rusty bits will have turned black; if you now scratch at those again and any red powder is seen, then you need to do a bit more to those areas and re-apply the Jenolite. Eventually the whole thing will have a uniform grey finish - very satisfying, you did it all yourself!
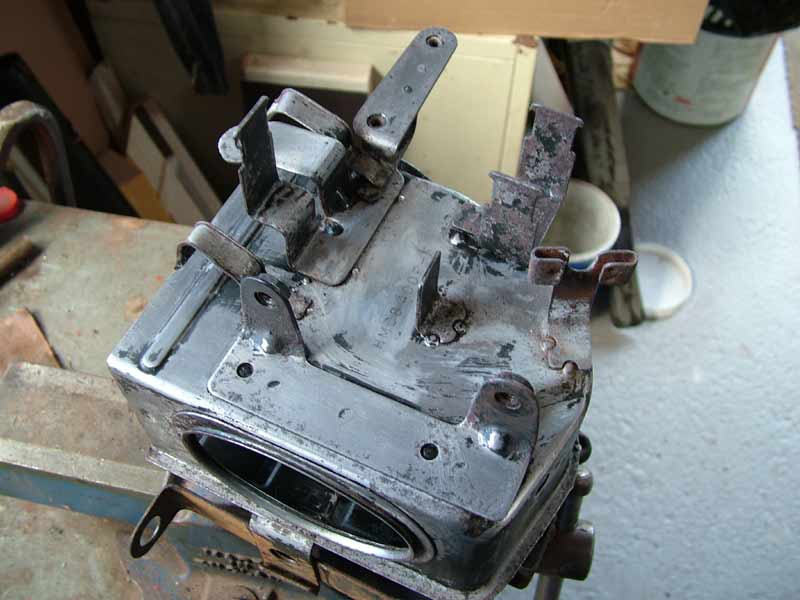
I ran out of Nitromors, so this side will need a further application but after applying Jenolite you can clearly see the bits that need further attention, as will the remainder of the outside. I find that these tedious jobs are best fitted in between other jobs - a few minutes here and there go almost unnoticed and suddenly you are almost ready for the finishes.
The inside is quite good but for the sake of half an hours work I will strip and sort that in exactly the same way. Surprisingly there is one section in an inside corner which has not had any paint from new - it looks like it might have been dipped and not quite submerged in the paint bath - does anyone know if they were painted that way, rather than sprayed? I would have thought that Honda would have been ahead of the game in electrostatic application back then.
The next step when you are quite happy with your work is to clean the whole thing over with panel wipe to remove the grease from working and handling. I then give it a couple of coats of UPOL Acid Etch primer (from a spray can)
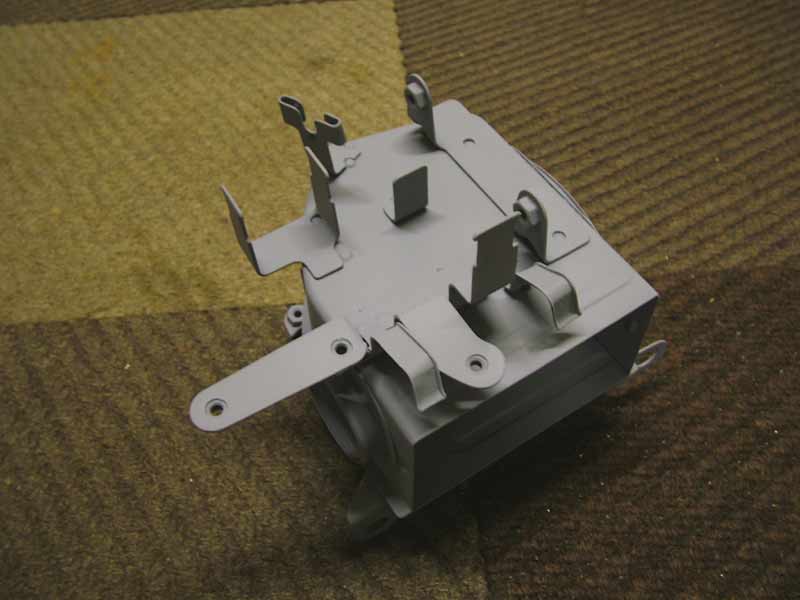
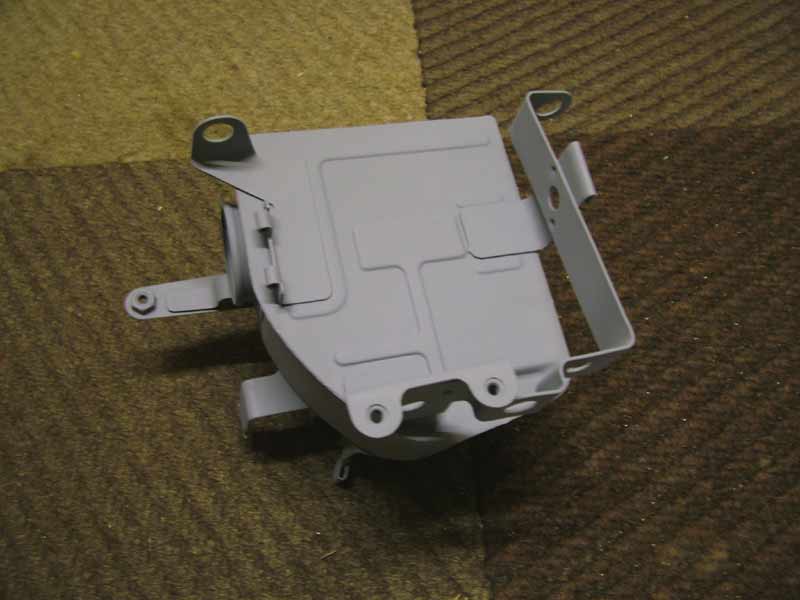
Much improved and ready for the satin black
On a part which will rarely be seen I would resist extensive rubbing down between coats (unless you've got lots of monks and nuns) and just go on with the final coats of Satin Black to leave as much paint protection as possible. I would just de-nib with a grey Scotch pad before the final coats.
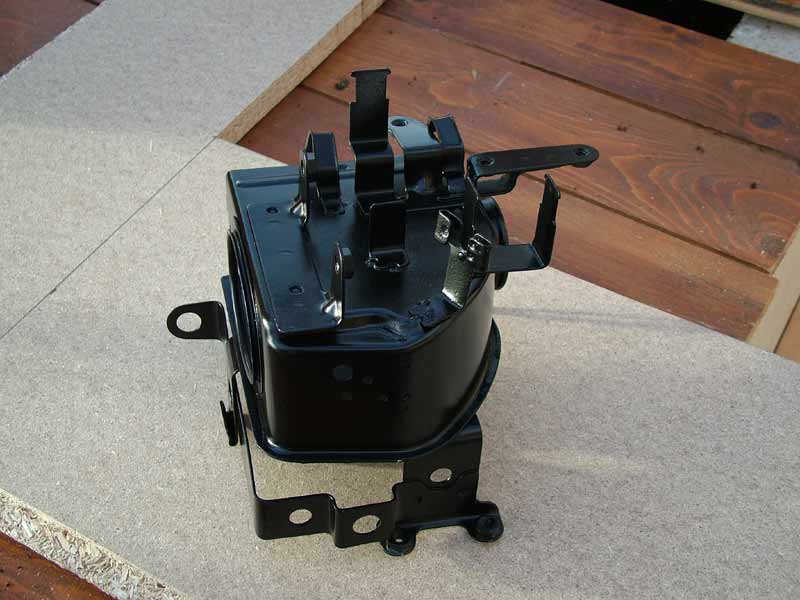
Don't forget too that this airbox is covered all over in electrical fittings on one side and the battery on the other and then the side panels go on! That's no excuse to leave it as it was or daub it all over with underseal or chassis black.
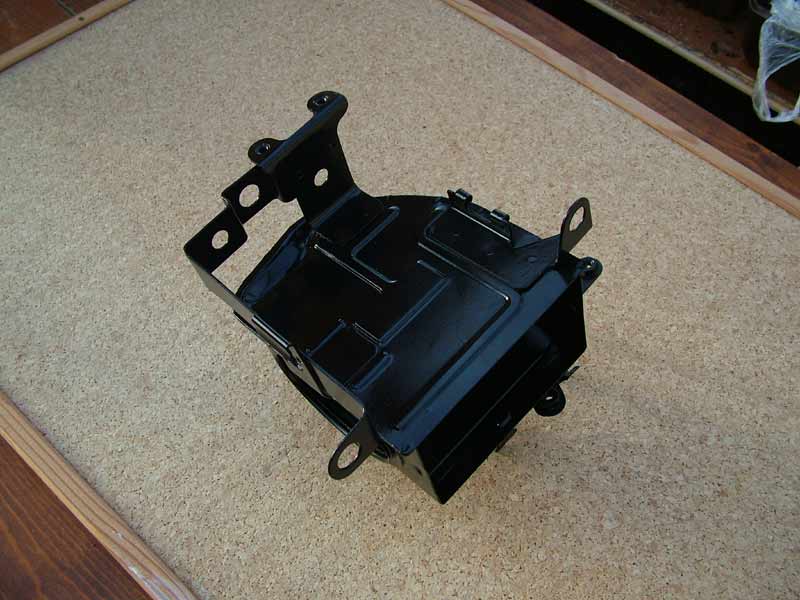
Remember, this bike was gifted to me so I can afford to spend a bit of time bringing it near to original.
Now it just needs leaving for a week to fully harden prior to waxoyling and reassembly.