350/4 restoration REVISITED
Well, the ‘sympathetic restoration’ that I referred to in the previous instalment of the 350 four story has moved on rather encouragingly of late. I decided that I was not going to strip the frame totally at this stage, bearing as it does, the all important tag clearly stating that the date of manufacture was 6/72, which means that it should be eligible for Historic Vehicle status. The plate is held on with two round - headed drive pins, which would have to be destroyed in their removal, before the frame could be taken properly to bare metal. This might look suspicious to the DVLA if inspection proves necessary, so I have left well alone until the documentation is completed. I attacked the frame with 320 free cut paper, neutralising the small amount of rust, which was present with Jenolite, before brushing with two coats of black Japlac, a section at a time. The finish, although certainly not concours, is quite acceptable at this stage, for a bike which will be used regularly and it is easily touched up again when necessary.
Another twist in this convoluted saga came when I got a phone call from a chap (not a Club member) only a few miles away, whose friend (who is) had told him of an Auto-jumble ad. I placed almost a year previously for a rear wheel, which I had for sale for a CB72. I hadn’t sold it and in the conversation it turned out that he wanted it, not for a CB72, but for a race replica based on ------- a 350/4 (That’s 4 of these in Southport now! - who said they were rare?) Needless to say, I asked him what he would be doing with the standard bits from the bike, to which he replied “Oh, I’ll probably throw them in the skip, nobody wants that stuff, do they?” I was round there before you could say “Tansha” and swapped him the wheel and some other bits he needed for a great stack of bits, which were still missing from my project and a lot of duplicate bits too. He turned out to be a really interesting guy and has quite a few race replicas which he has created himself, plus Joey Dunlop’s 1997 125 (genuine, definitely not a replica!)
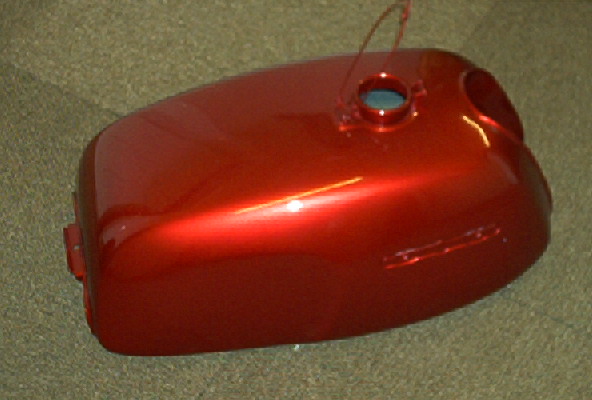
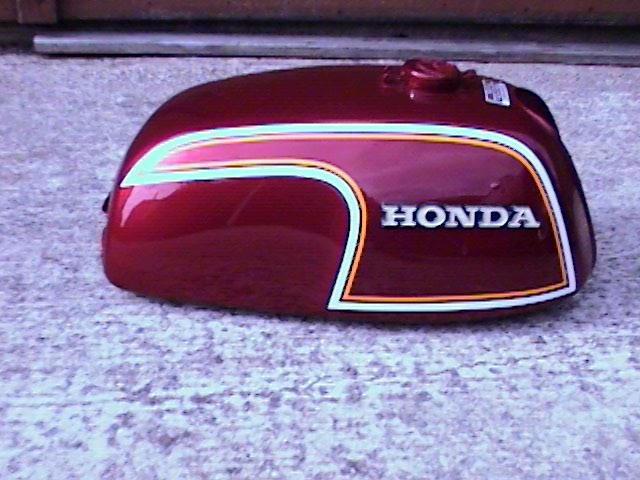
I took the duplicate tank to John Kenworthy at Sunrise Graphics (01253 711862), who has replicated the 3 piece decals in the original white and orange. I then stripped the Auto-jumble tank to bare metal and filled the small dents, before a friend with a spray booth gave it four coats of 2 pack primer filler. I then guide coated it and blocked it down dry with 320 free cut paper. This was then followed by another guide coat, prior to wet flatting with 600 grade. The next stage was to base coat it with an aerosol, which the body shop suppliers mixed for me in Rover Nightfire. My friend then gave it one good coat of clear 2 pack lacquer, so that I could ‘Scotchbrite’ it and apply the stripes and warning sticker. This was then followed by another coat of clear 2 pack lacquer and Hey Presto! one quite presentable tank.
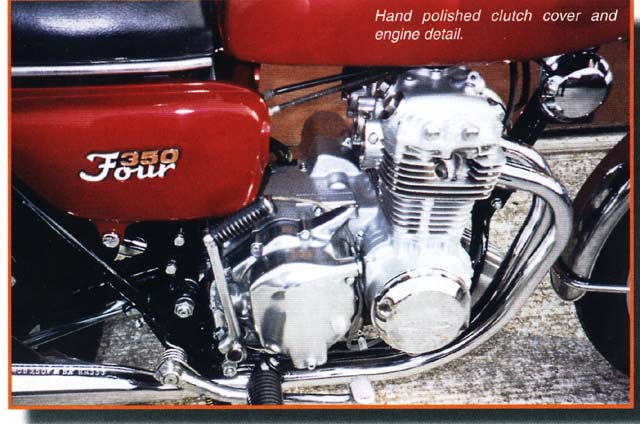
Most of the bolts, clips and brackets were cleaned and re-plated in clear passivated zinc, which is a lot cheaper than replacing them, and providing the threads and heads are good, you get to retain the original markings etc. The spare cylinder head had been stripped and rebuilt before I got it, but there was a lot of dirt and grit around it, so I stripped it again. I’m pleased I did too, as one or two valves were rather tight in their guides with a film of rust and grime. The stem seals were obviously new too, so that was a bonus. I picked the best cam and followers from the bits I had, and managed to salvage a full set of very good tappet caps from a variety of covers I have had knocking around from 400 fours.
The crankcases and head were treated to a couple of coats of silver Smoothrite spray, which is a passable copy of the original finish. I stripped and checked the starter motor (identical to the 400’s), just as a precaution, and it was in excellent condition, only needing lubricating and a light clean of the commutator and the brush guides, the brushes themselves being as new.
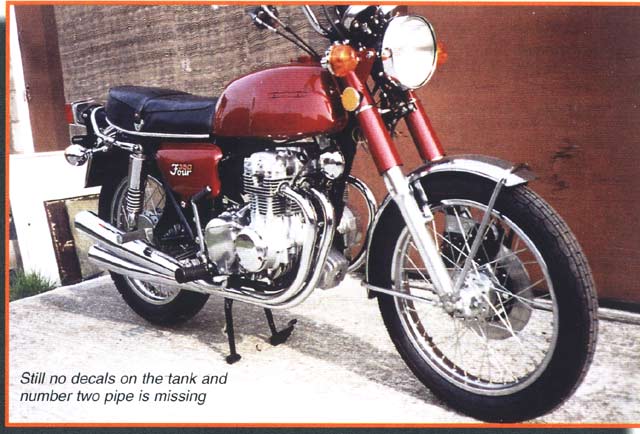
Numbers 1,3 and 4 pipes and silencers were obtained through David Silver, but number 2 is unavailable from anywhere I know of, so I have bought and altered another number 3, which looks quite acceptable. The seat needs to be recovered if I can find someone with the wherewithal.
Another stroke of luck came when I was looking for the brackets to hold the four silencers to the rear footrest mountings. From the SOHC/4 website, I contacted a guy in the States who seems to be something of a Guru in locating stuff, and he put me in touch with a chap in Southern California, who was breaking a 350/4. After a couple of e-mails, and arranging payment via my Niece in Cleveland, Ohio, I became the proud owner of a pair of near 30 year old brackets which look as if they might have come from a 2 year old bike! I could have probably made a pair, but they are quite complicated and I didn’t even have a picture to go by.
I rebuilt the wheels myself with new (pattern) rims and spokes, which I had had for many years (in the wardrobe, where else?) for a 400/4. Final trueing and tightening being carried out in a spare pair of forks clamped in the vice, with a few strategically placed pointers for assistance. I took the trouble to make quite a few tools in the process of the rebuild, one example being a remover / replacer of the two locking rings on the front and rear wheel bearings, which was quite a satisfying lathe/milling machine job. It’s a lot better than mangling the soft alloy with a punch! All of the other cycle parts were overhauled, replacing whatever was needed with either parts from my own small stock or, in some cases, new. The brake master cylinder and caliper were stripped, cleaned, painted and re-rubbered and new linings fitted to the rear wheel. I have hand polished all of the alloy parts myself, but left them bare, preferring to just keep on top of the cleaning when in use. One thing, which always winds me up, is that stupid, but very necessary circlip in the brake master cylinder. No matter which type of circlip pliers I use, it’s still a bugger to remove and replace. Does anyone have a regularly successful method?
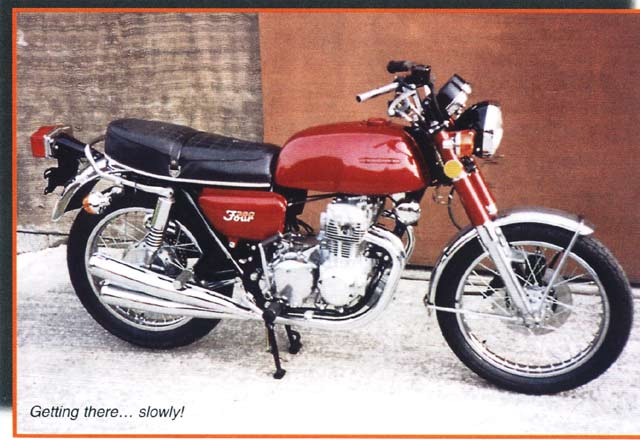
It’s getting quite close to being finished now, with only a little bit of wiring to sort and the carbs to check and fit, so one final push over this Winter might see it ready for a show or two next season. I hope to conclude this tale with the testing and registration and my impressions of actually riding it.
Just as a final note, I was sitting chatting with my Wife over our evening meal recently, when there was a knock at the back door. When I opened it, there was the guy who sold me the original 350/4 and a lot of my other bikes too, with yet another 350!! “Thought you might like another for your collection” he said. I honestly think I have too many other projects awaiting my undivided attention, so, if anyone fancies a challenge….