Making a 5 String Kantele
Sometimes I like a change from working in metal and having to clean years of accumulated oil and filth from neglected car and bike parts, turning my attention to something completely different. This time it was a five string Kantele that grabbed my attention - a simple traditional musical instrument from Finland and Karelia. I first saw one of these at the house of an Orcadian friend and was immediately taken by its relative simplicity and later heard a larger version being expertly played when we visited the beautiful Norwegian Lofoten Islands.
I trawled the web and found plans from Michael J. King who has made a great many stunning examples of these lovely instruments - he also supplied me with the special steel tuning pegs. I bought a piece of American Walnut from the Web - easily enough to make the pieces of the frame and a friend supplied a couple of strips of reclaimed maple for the soundboard. These were carefully cut by friend Andy from the same piece, so that the figuring can be 'book matched'. They originally came from the floor of the old Kirkwall Grammar School.
I have only occasionally worked on this little project when the mood takes me and I've perhaps stalled on something else - waiting for parts or inspiration to overcome a particular problem.
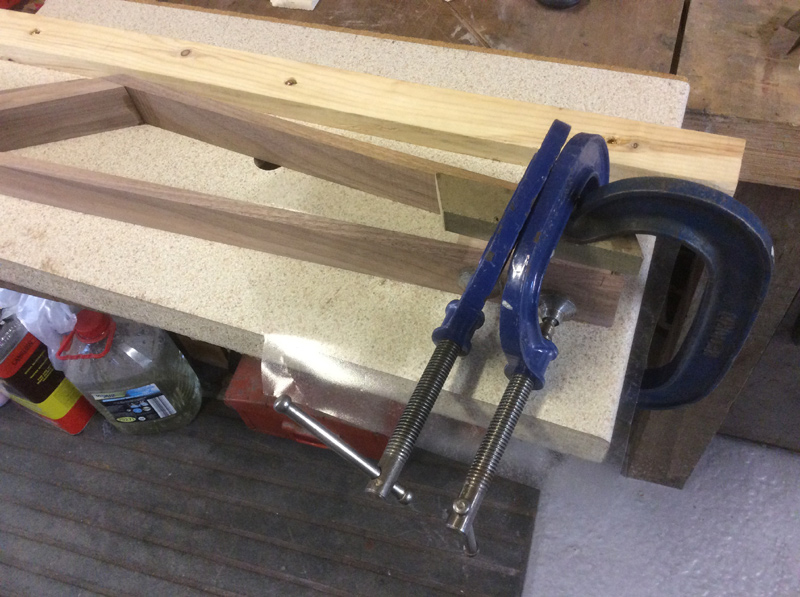
I had to make a rig to hold the 5mm thick soundboard pieces for rub glueing the edges and ended up using an off-cut of kitchen worktop as a base, with strips of 2x1 as side clamps - one screwed down to the baseboard and the other left loose for clamping. A piece of polythene under the maple prevents the whole thing sticking to the board.
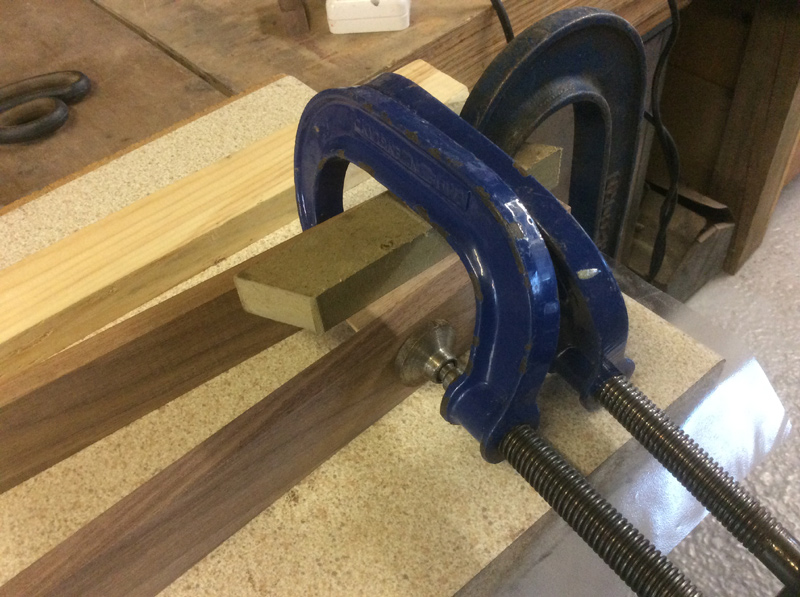
The wooden wedges bear up against the top clamps and provide a downward force to keep everything flat - the lower sash cramps do most of the work and the two G cramps just kept the ends level.
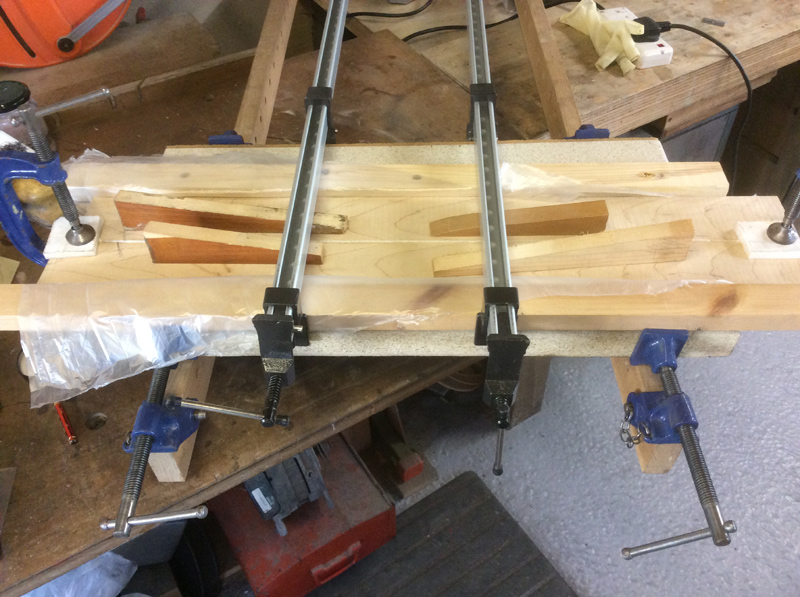
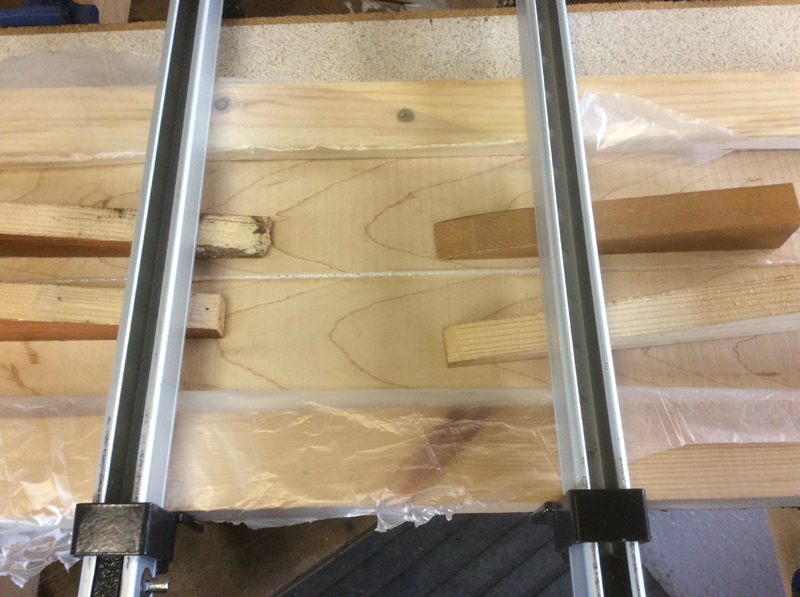

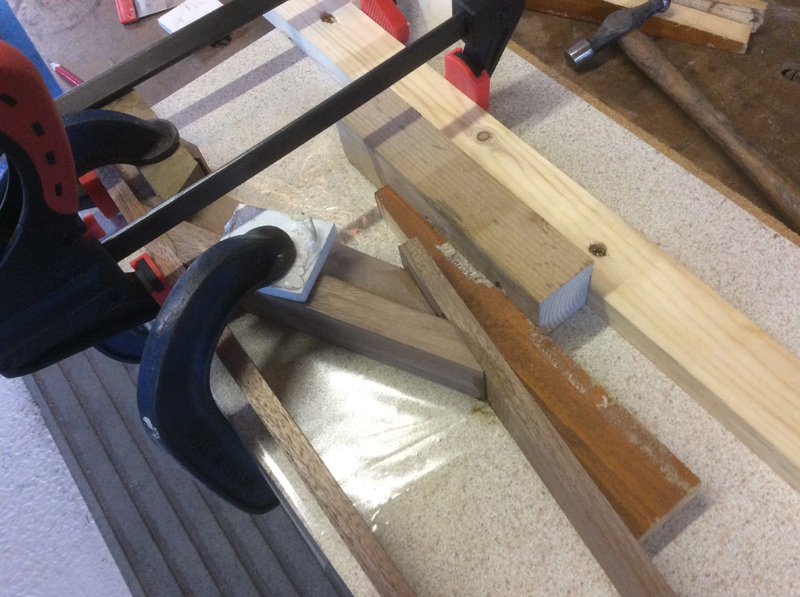
These shots are of the 'head end' during glueing up.
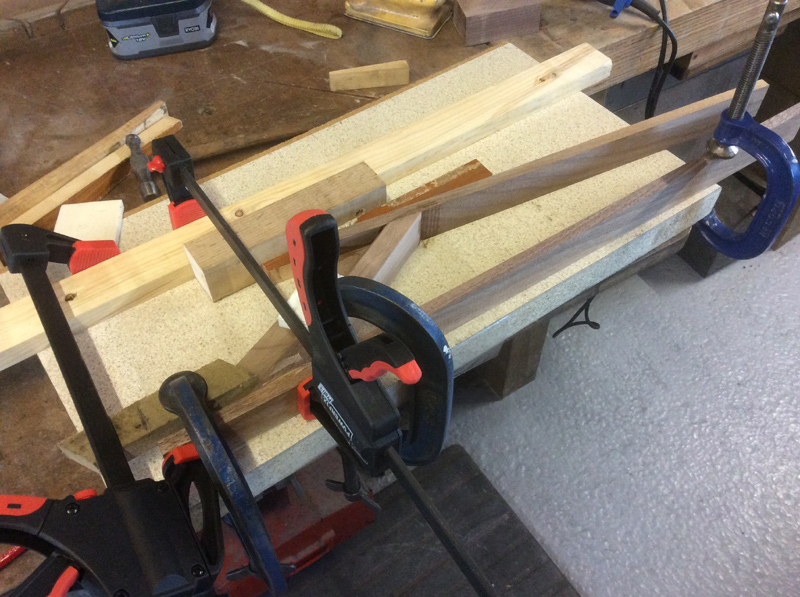
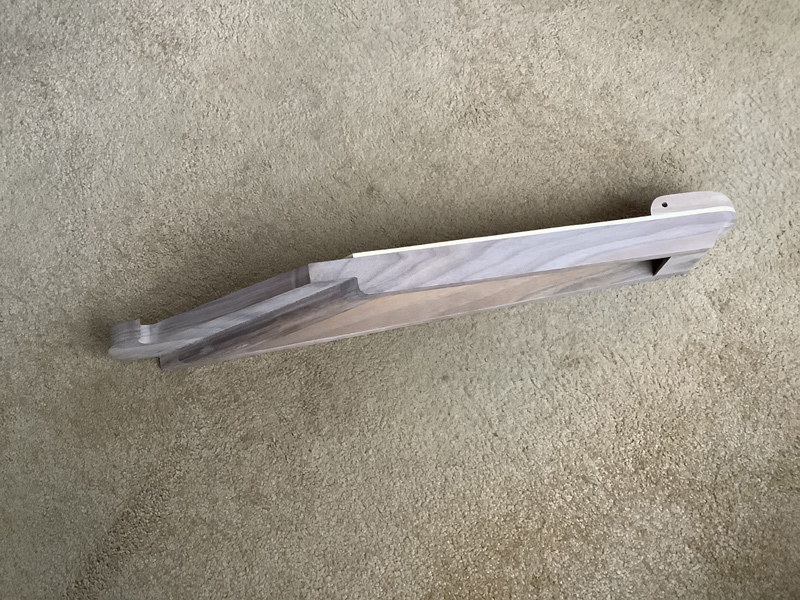
Before glueing the tail block in place, I spent some time removing the bits of excess timber from the sides by the head - knowing that once glued up, I couldn't do any more to it for a while.
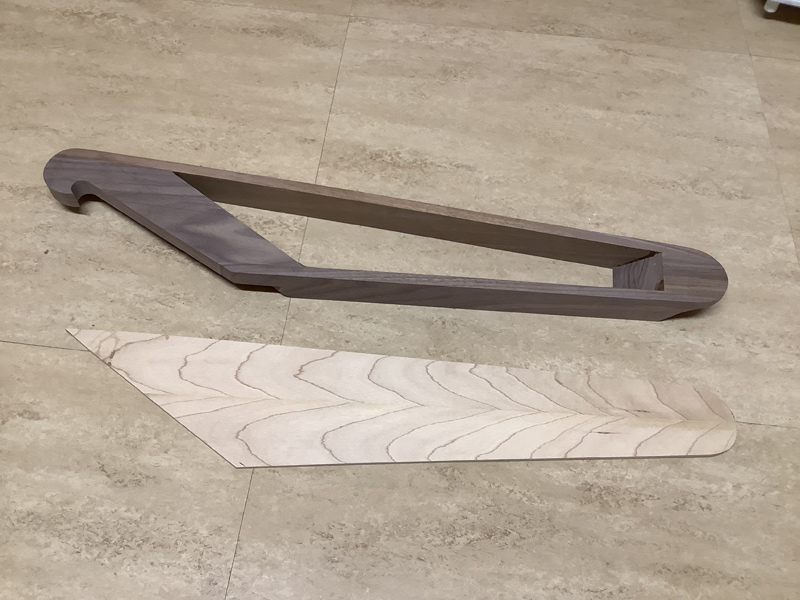

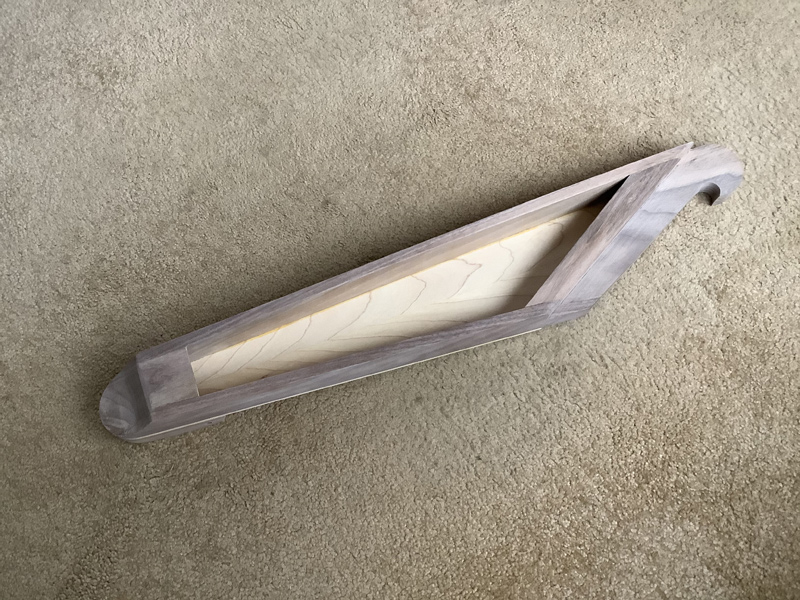
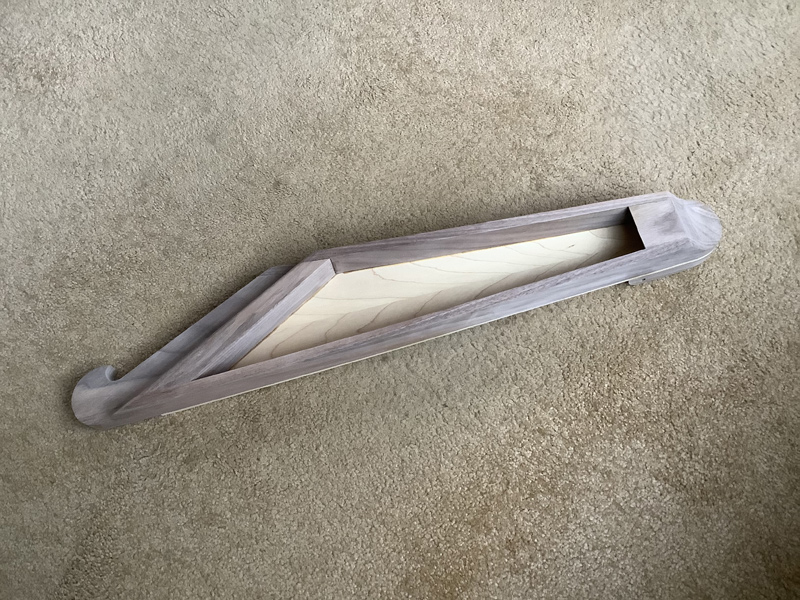
This is the underside of the frame and soundboard
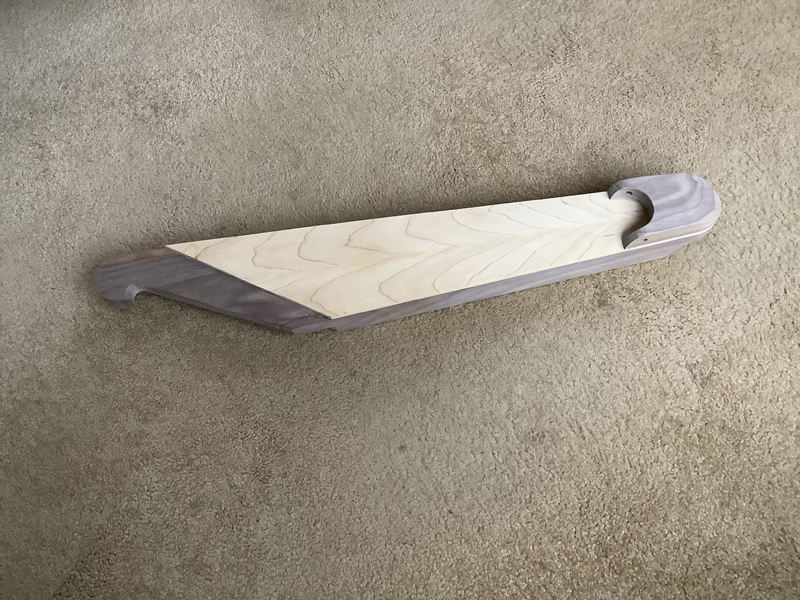
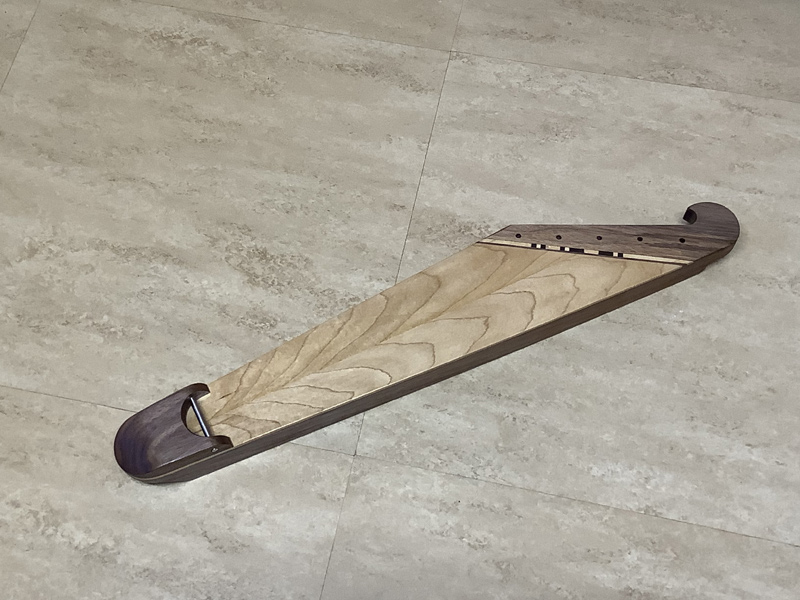
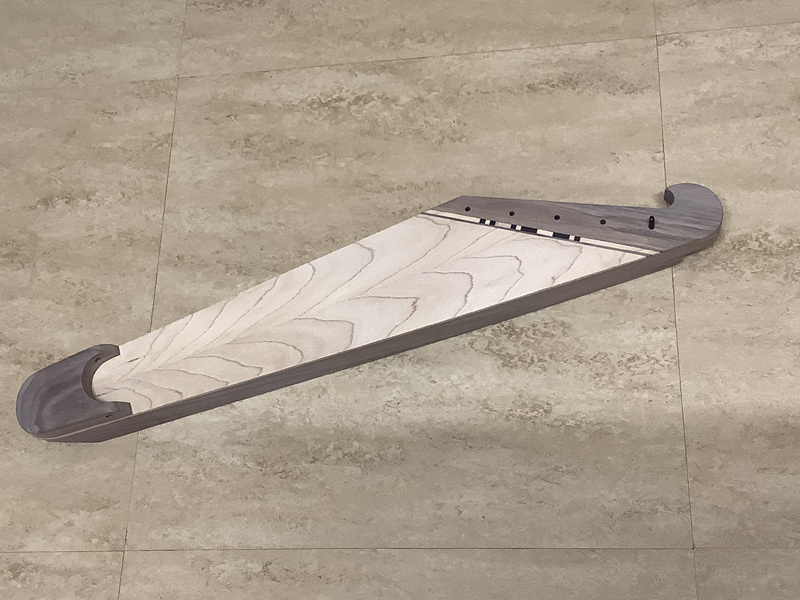
Nearly there now - just needs the surface finish applying and I'm thinking of using many coats of Danish oil to bring the lovely wood figuring to life.
I have the rest of the tuning pegs and a set of strings plus a stainless 'Varras' I made on the lathe.
I added a bit of decoration in Ebony to the head below the pegs - I'll leave you to decipher it!

.......and then with the first coat of Danish Oil: