The College Minivan Part 4
3rd August 2002
Things have moved on a little recently, after a short spell of hedonism - holidays, trips on the bike and being side-tracked into other things. All of the welding is complete and my attention has now turned to dent removal and filling. 35 years of small battle scars needed TLC and these were dealt with one panel at a time, although I always have another awaiting filler, just in case I have some left over! The drivers door was the worst, so that was sorted first; you might see from the pictures that it had had a patch pop-rivetted on the outside, but what was not obvious, was that the bottom had been properly repaired previously. I made a new outer skin repair panel for the lower 4 inches and with a thin cutting disc in the angle grinder, completely removed the old piece. The new section was slotted up behind the remaining outer skin and the edge carefully turned over. This new piece was held in place with a great many short tacks of MIG weld to prevent too much distortion. The whole thing has now been filled and primed and will only be painted in colour when the rest is completed.
The finished door in primer with a dusting of 'Guide coat' so that minor imperfections can be easily seen prior to final finishing.
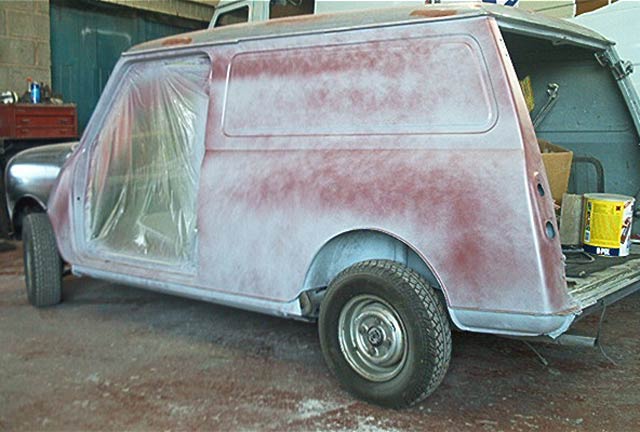
The whole of the passengers side is now in primer after the long process of filling, blocking down and checking, but the result has been well worth it. Again it has been guide coated ready for the final blocking down, just before the finish coats are applied.
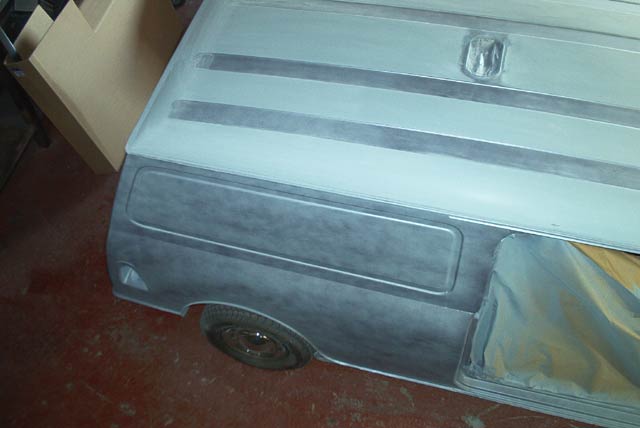
My attention has now turned to the drivers side, which was not quite as bad, but still had its fair share of minor dents and battle-scars. The rear doors were in remarkably good condition, and apart from one small repair at the top corner, only needed filling and blocking, prior to 2 pack priming. Christine and I went to the Classic car show at Tatton Park recently and I was fortunate to find a set of the small hub caps and a passengers door handle as the those items were missing from the van when I got it - well there was a handle but it was a MK1 type and caps were the full wheel type.
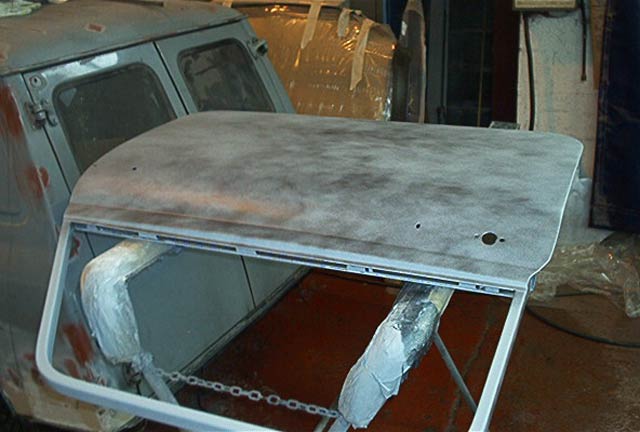
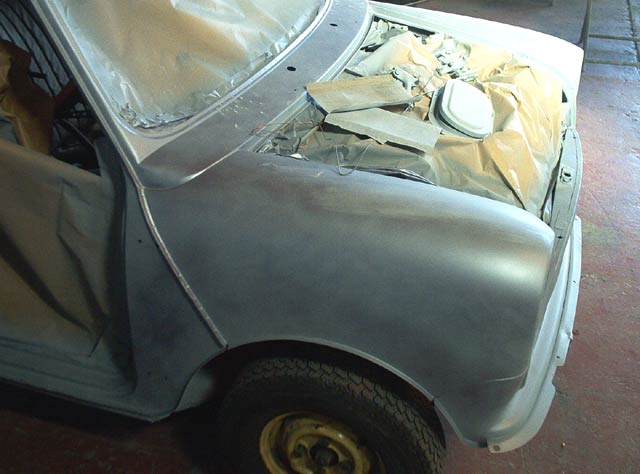
The hinge on the roof vent had been broken for a number of years and was bodged rather crudely, so I have removed the whole assembly, and will remake the hinge before fitting it back again, then the roof can be flatted and any minor imperfections sorted. This only leaves the front wings, which are new and the excellent front panel to fill, seal and prime.
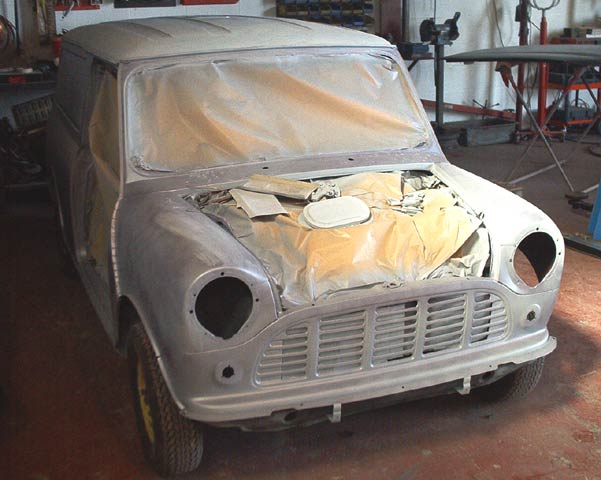
As you can see, the wings are the very late type genuine Rover, with the cutouts for the lamp motors, but these are not seen when built up. Strangely, they don't have the holes in for the side repeaters - which I don't want anyway. The front panel really has come up well, with only a few small holes migged up where the saloon grille had been screwed on. Not visible in the picture is the alteration of the headlamp bowl screw holes - I filed them out square to fit those little nylon plugs. This makes it much easier to remove the bowls for waxoyling and cleaning, and helps cut down on corrosion around the screws - which will be stainless of course!
Blocking down the guide-coated primer on the roof, I had to cut a foam block specially for the roof swages, so that the edges didn't get rubbed through.
In the interests of safety, I have added a pair of Cooper door mirrors, which were left over from the stripping of the damaged Sportpack, and these will be painted in body colour. Fixing them was quite straightforward, but you can't use the normal threaded rivets as the window channel is almost directly behind the skin. I made up a couple of 5mm plates with threaded holes and these were held with Sikaflex inside the inner skin and the window channel.