2000 Daimler Super V8
Part 3 - More rustproofing
Quite a satisfying job was completed on the front end and I now know that those areas will not give any cause for concern for many years to come. Prevention of serious corrosion on our cars is far and away cheaper than remedial cutting and welding in later years. Usually at the age of my car (2000 model year) it would be too late but having been carefully used for most of the time, it has not suffered the fate of many similar aged vehicles.
In one or two places underneath there are some innocent looking stains on otherwise intact undersealing, I can nearly guarantee that the sealer has somehow been compromised and there is some corrosion present behind it. What kind of sub standard under seal had Jaguar been using? Was it of their own manufacture or had they been supplied with some cheap rubbish at the behest of the bean counters? Perhaps it came as a job-lot with the metal for the bumper mounts.
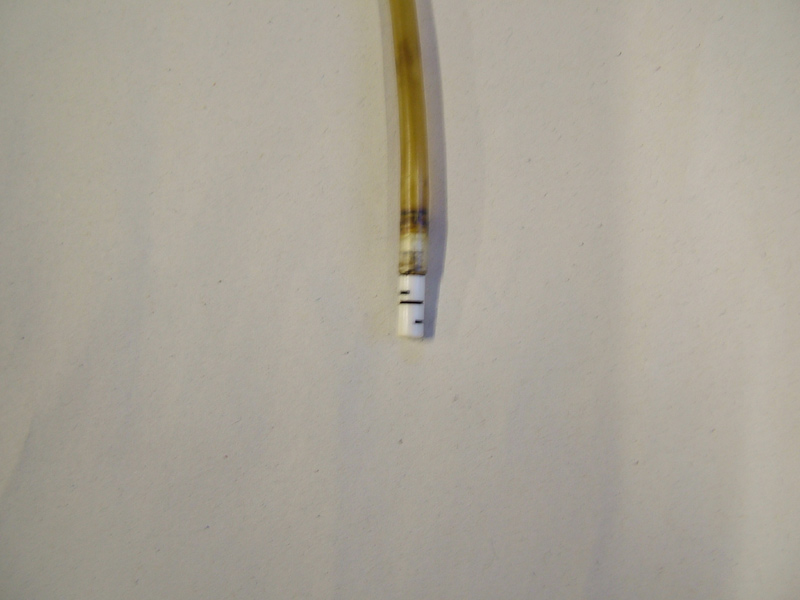
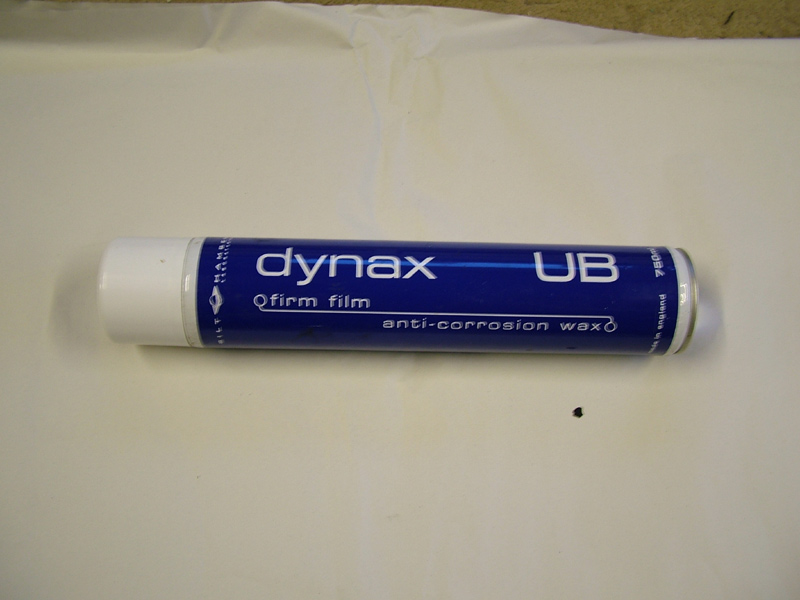
Next job on the list was the sills; another notorious problem area so I wanted to pump them with another Bilt Hamber product, Dynax UB which is an almost black anti corrosion wax and comes in 750 ml aerosols with incredible pressure. Bilt Hamber also supply a long flexible 'lance' with a clever little slotted stop end which really projects the product in a full circle to ensure complete coverage.
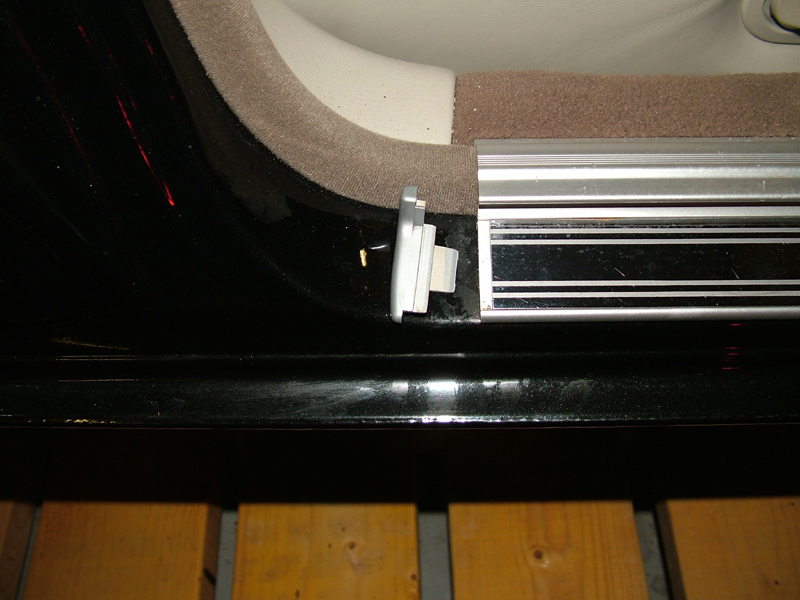
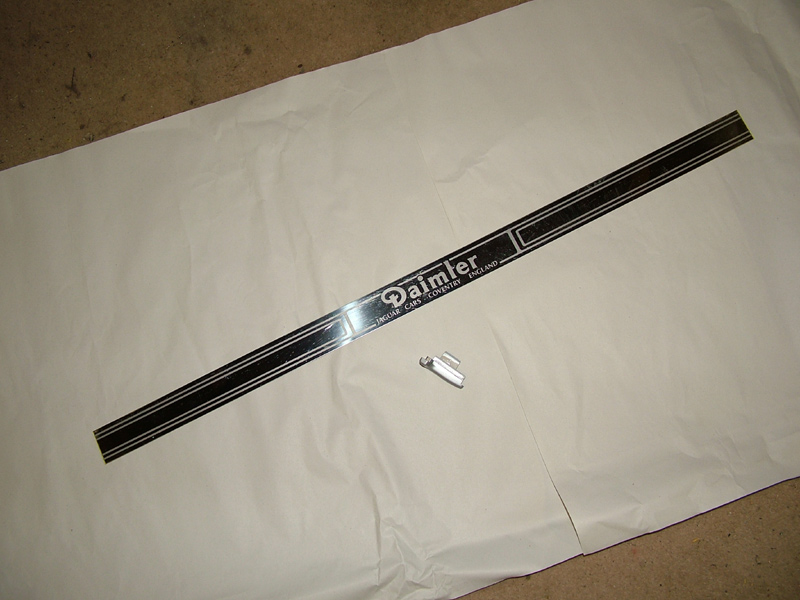
The very thin stainless inlay panels with the Daimler logo are attached to the sill tread plates with double sided foam tape and these need to be removed to gain access to the torx screws which hold the tread plates to the sill top. The problem is they are very thin and quite a neat fit in the tread plate. I first removed the little plastic end finisher and applied a little heat from a hot air gun to soften the adhesive tape and with a backed razor blade, was able to gently lift the end of the finisher. Having already protected the anodised finish on the tread plate with masking tape it was then fairly easy to push a thin scraper blade under the finisher and remove the razor blade. Patience is required for this operation and the scraper blade together with the heat gun can be slowly advanced to the other end until the whole finisher is released.

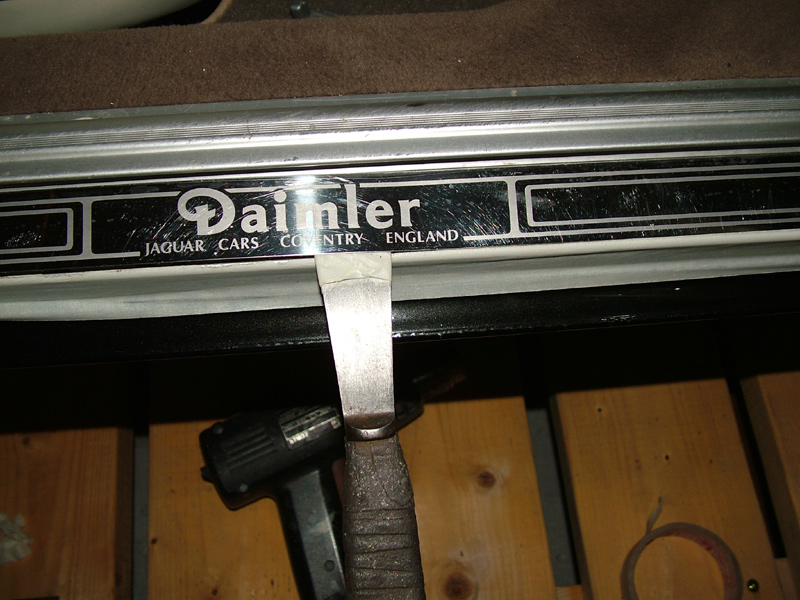
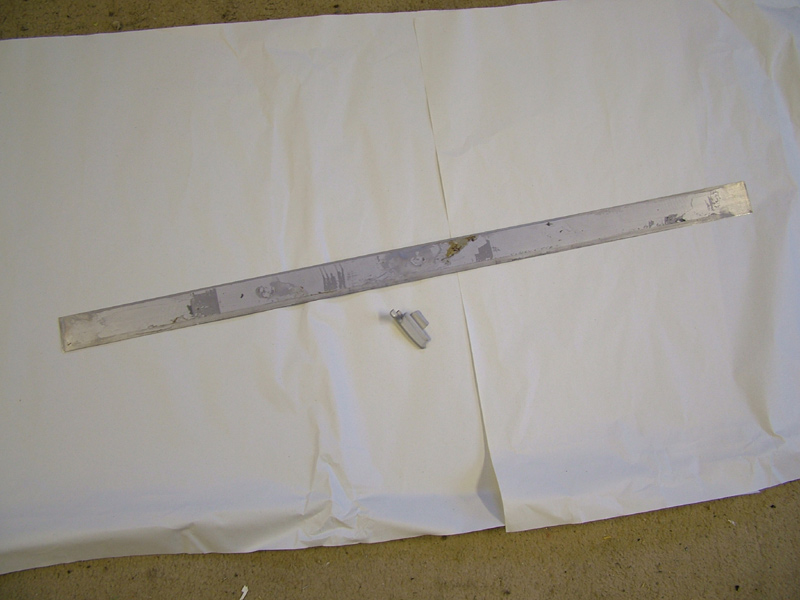
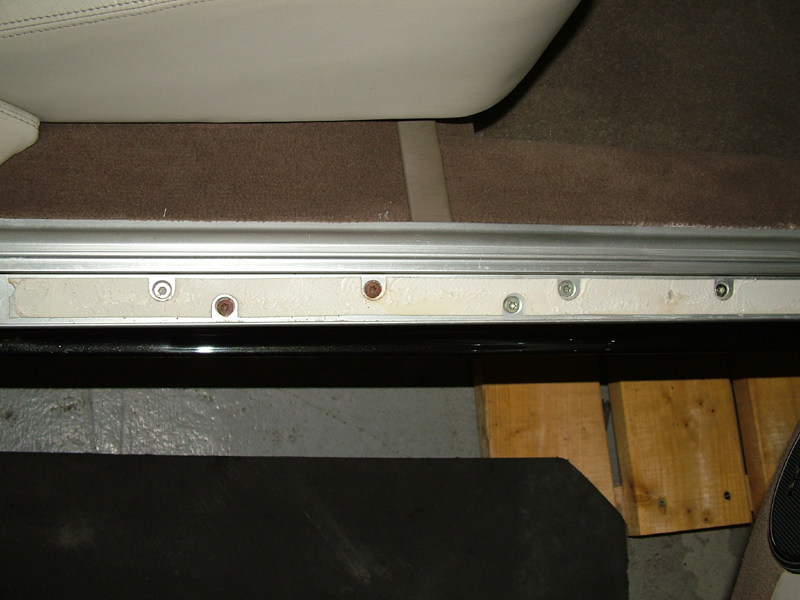
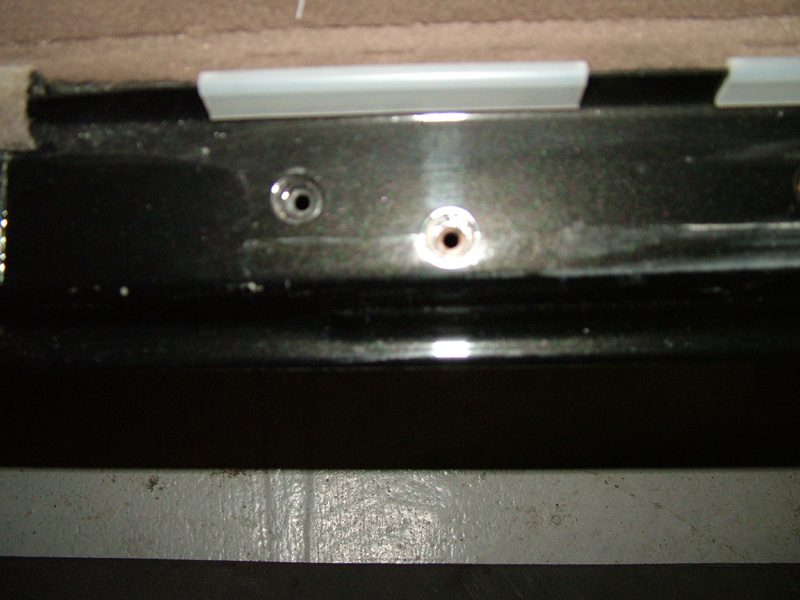
The number 30 size Torx screws are next and there are 3 on the front plates but 6 on the slightly shorter rears - a strange arrangement and I'm not sure how many there are on the short wheelbase models. Another thing which must have been missed by the cost cutters is that the hole pattern on the rears is asymmetrical, so therefore they are handed but could easily have had symmetry.
The ‘magic lance’ was fed into the holes at different positions and persuaded to go in the direction desired, it was then just a matter of slowly withdrawing the lance tube whilst pressing the aerosol button and being careful to stop pressing before it emerged from the hole - it takes about 3 good very soapy washes to get it off your face!
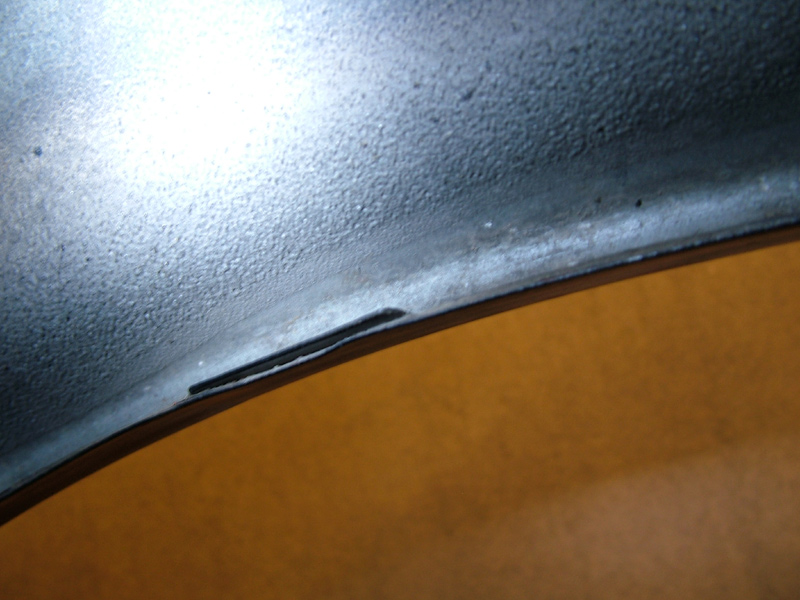
I had spread some long strips of cardboard under the sills to catch the run out from the sill vent holes and was amazed to see it seeping out from the apparently closed seam where the rear outer wheel arch joins the sill top - no wonder these cars rot!
As the car was raised up in the air, I took the opportunity to have a go at the rear wheel arch lips. There is a gap in one place between the inner and outer arches - from the factory, as I have checked quite a few, so I wanted to see if I could get cavity wax to bleed through this gap in an effort to prevent future problems. I had noticed this gap many years ago at the launch of the modern 'S' type - even more of the circumference is un-welded on this model. I have come to the conclusion that this is to provide an exit for damp air from the internal structure when there is a positive internal pressure inside the cabin. Anyone know for definite if this is correct? I also removed one securing bolt from the rear door striker plate to give access the the gap between the inner and outer arches to give those areas the wax treatment too.
I was really lucky to find a 14 year old car (now approaching 18) in this condition, I viewed some real dogs before I found this one.
That more or less completes the vulnerable areas so it's now a matter of keeping things clean and occasionally cleaning and treating larger suspension components, mainly for cosmetic reasons.