
A MODERN DAY GOLD STAR?
Honda GB 400 TT
Many years ago, a friend dropped round on his latest acquisition - a brand new Honda XBR 500 in a lovely burgundy colour. I was immediately taken with this bike with its spoked wheels and alloy rims which was quite retro at the time. A couple of years later, I saw a cafe racer version of this bike, which was a special edition TT version, called the GB500 TT. The spec included a return to spoked wheels after the intervening period with Comstars, clip-ons and rear-sets and a very stylish seat with a 60's style hump. It was, for me, a logical progression for the BSA Gold Star, had it remained in production. Dry-sumped single cylinder engine with an overhead camshaft operating four valves in a radial format (just like a Rudge!) Two exhausts exiting into one silencer. It also boasted a chrome headlamp, and matching rev-counter and speedo. One day I will find one of these for restoration.
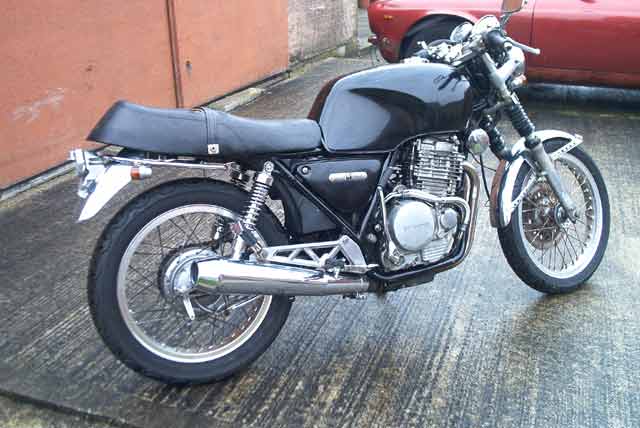
I could blame the next series of events on my Brother in law, Terry Pike. On a recent visit to his place, so that my Wife Christine could see her Sister Pat, Terry and I were discussing his latest acquisition over a brew. This was a front damaged Drag Star, soon to be delivered by West Coast Motorcycles. Terry was keen to let me see it 'as is' and said that if I was passing West Coast, perhaps I might take a look. Chris and I were indeed passing a few days later and dropped by to see Nick, the proprietor and the bike. It was just after seeing this, that I clapped eyes on what I thought was a 500 TT. It turned out, however to be a GB400 TT, its slightly milder mannered Japanese-market sibling.
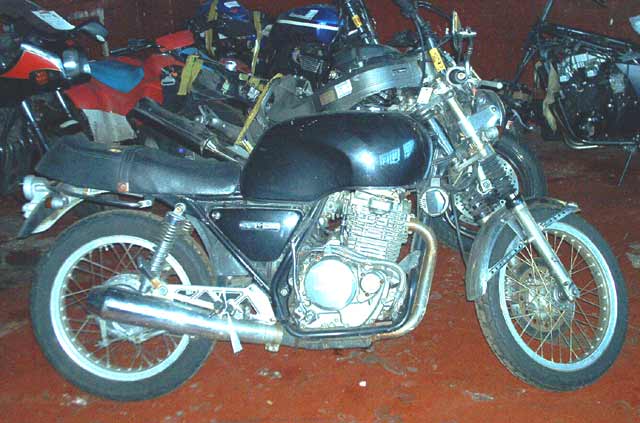
My first sight of the GB400TT at Nick's
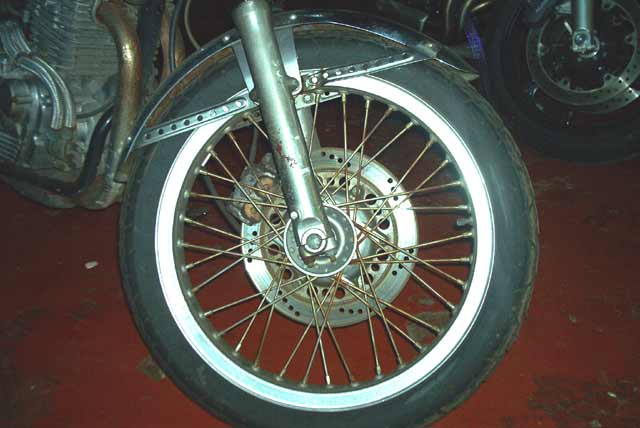
Dragged out from the line, it looks quite promising.
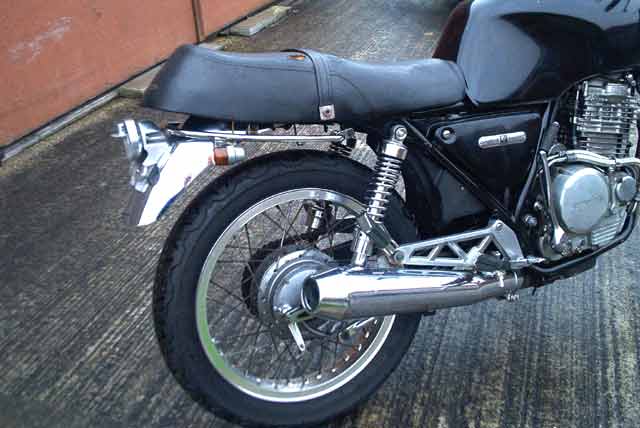
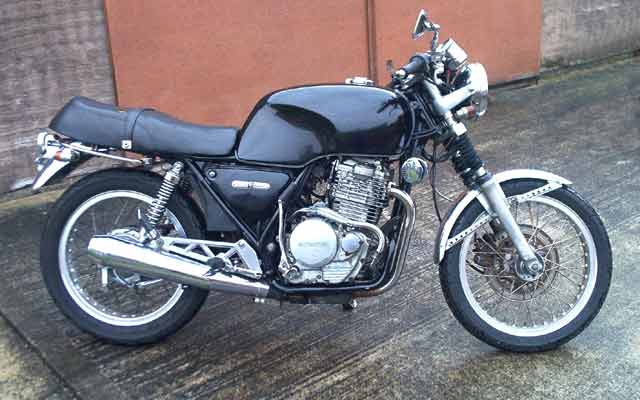
I had a quick look around it and was quite surprised how original it was. True, it was a scruffy beast, but there were very few parts missing or damaged. The main areas of concern, were the split fork gaiters and missing rear light lens. Surely these would be quite difficult to find and might mean using non-standard stuff to get me by. You can probably see that I had already talked myself into buying this forlorn, inanimate pile of metal - will I never learn? Why is it that most sensible people go to work to get money to buy things which will save work, whilst I, a relatively intelligent 54 year old, go to work to get money to buy even more work!! No, I can't explain it either.
Anyway, when I returned home, I tentatively contacted David Silver to see if he had any bits to suit. Surprisingly he had everything I needed - remember, this is a 17 year old Jap import, which was only made for a few years - you try getting a new Mk5 Cortina bumper! - no, please don't try to sell me one, I'll probably start searching for a car to go with it!
There is a little bit of method in my madness, as a member of the VJMC and this bike being over 15 years old and therefore eligible, I can use it this season for a few club runs and shows. Another big bonus for me, is that I have a classic rider policy with Footman James, so this is covered at no extra charge. The only other on-costs will be MOT and Tax. The vague plan is to give it a wash and polish, with a bit of 'detailing' on some of the lightly rusty bits, replace the necessary parts and get it ready for the MOT on its frame number and finally jump through a few fire-hoops to get it registered with good old DVLA - it should go on a 'D' plate. The next important bit will be to re-paint the tank and side panels, possibly in the correct black with gold lining (just like a Velocette), which is a job I thoroughly enjoy.
23rd Jan 2004
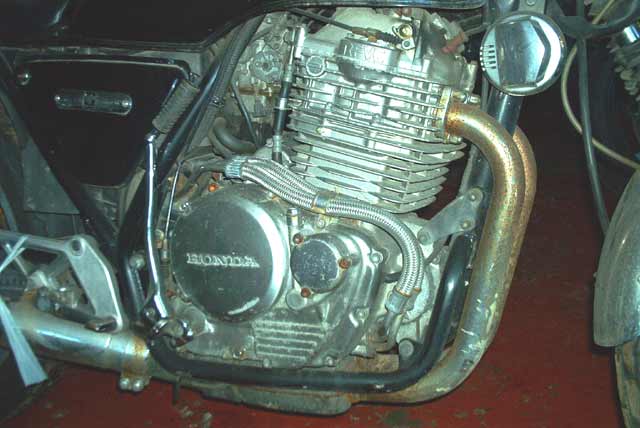
Well, the bike arrived home today, and as intended, I have given it it's first wash and have generally gone round it to assess what work is needed. The clutch was stuck, but became free after 5 or 6 attempts at rocking it back and forth in gear. After it had all dried, I started polishing a few bits with Solvol, just to get a measure of what it might come up like. The first 'go' has proved well worth it and the mudguards have been transformed, although if you look closely there are minor speckles on them. The wheel rims have also responded well to cleaning. I have now turned my attention to getting the thing started. The early picture show staining around the fuel tap and the float chamber joint on the carb. Having done a number of these Jap imports which have been standing around for years, the only solution is to remove and strip the carb, the tap and then clean out all of the old stale fuel from the tank. The tank came off very easily and with a bit of thought, so did the carb - a hell of lot easier than any of the four cylinder bikes. Needless to say the carb was a mess, but after a good soaking, has cleaned up well. The next stage will be to blow through all of the many airways and jets, prior to putting it all back. The diaphragm and air cut-off valve are both serviceable, so all should be well.
An hour or so with a bucket and some Solvol made the world of difference
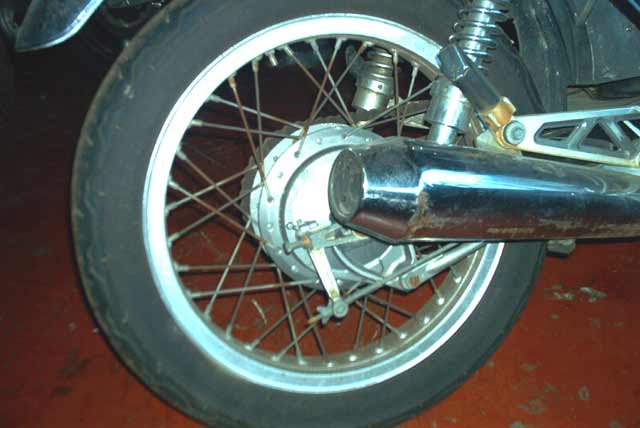
I've had a go at one of the rusty down-pipes and the silencer.
Update 1st Feb:
The carb cleaning work is now completed and I re-fitted it today, so with a freshly charged battery and a carb full of fresh fuel, I gave it a whiz over on the starter and after a few seconds it burst into life. It sounded very well, with not even a tappet rattle to mar the enjoyment. The exhaust gives a deep burbling sound and at 2500 revs is really pleasant. I now need to turn my attention to the tyres, which I intend replacing with Bridgestone BT45's. I think I may take it for its MOT before I do the tank and side-panel painting, and there is still a bit of polishing to do on the left hand side. I also tried starting it with the kick-starter and found that to be very easy. Damned clever these Jappie chappies, they have fitted a valve lifter/de-compressor which is automatically actuated by a mechanism from the kick-starter. I'd like to have the seat cover repaired too, but that can wait until other more important jobs have been taken care of.
Part 2 Re-building and polishing the fork legs
Part 3 Tank seat and side panels plus a bit more finishing
Part 4 A few more pictures
Part 5 The final touches and MOT