Norton Model 50 350cc
Part 3
When I got the featherbed frame all those years ago, the swinging arm was separated from it and the bushes were well knackered and needed replacement. So I made a couple of tools to remove them - and boy were they tight! - it took nearly all of the 10 tons available on the press, but they gave up eventually. It would have been relatively easy to buy a pair of the 'silentbloc' type and fit those, but I rather like using old scraps of metal and making my own on the lathe. My new neighbour Kenny had been sorting out his late father's garage and had donated a whole stack of new-old stock king pins and bushes from some very old obscure car. These provided just about the right sized phosphor bronze for me to make a set - they even had oil-grooves machine in them, which hardly disappeared during machining the bore. Steel inserts were also made with lots of careful measurement to get the end-float and radial clearance just right and I also fitted a grease nipple underneath the central section - easily accessible but hidden from sight for the purists. When all was assembled I discovered that the holes in the gusset plates were a little elongated, requiring a bit of careful work with the file before re-drilling and reaming to a larger size. Top-hat washers will now be needed under the securing nuts to position the swinging arm correctly. It would have been fine for the MOT man by just tightening the nuts, but there is a fair amount of force during acceleration (even on a 350!) trying to move the spindle forwards, then under braking it is being dragged backwards - hence the elongation of the holes. I could have shouldered the nuts, but washers are needed anyway, and stepped ones are just as easy to make and can be replaced if worn in the future.
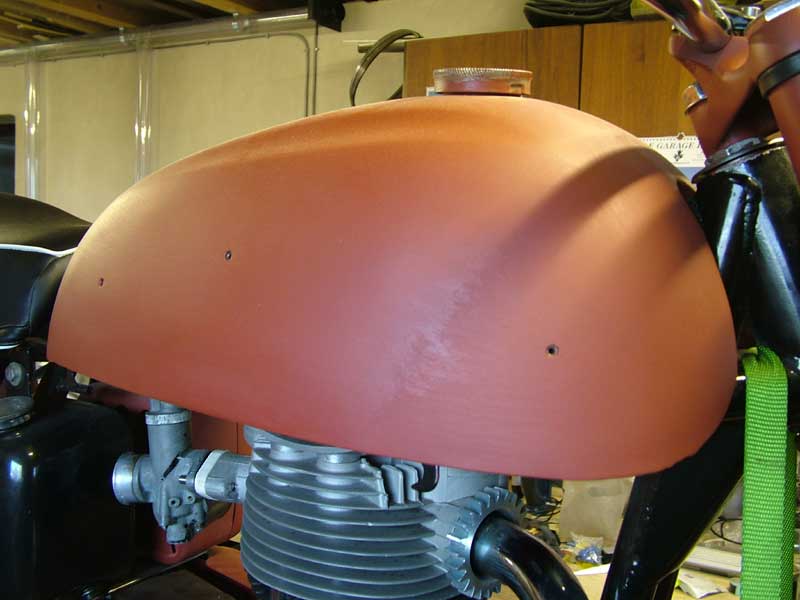
The petrol tank which I had robbed many years ago from another project had been filled and painted all over in a single colour, but I needed the threaded holes to fit my long cast badges which separate the black top from the ivory bottom. Once paint-stripped it was evident that the original holes had been brazed up. It would be too tedious to try and re-drill and tap the original blind holes, so made up some top hat threaded hank bushes (3BA) and silver soldered them in place. Fortunately it has been sitting for many years with no fuel in, but I still approached it cautiously with the welding torch the first time - chicken! It was then a simple job to dress them slightly under the surface with a few light hammer blows, prior to filling and blocking down to shape.
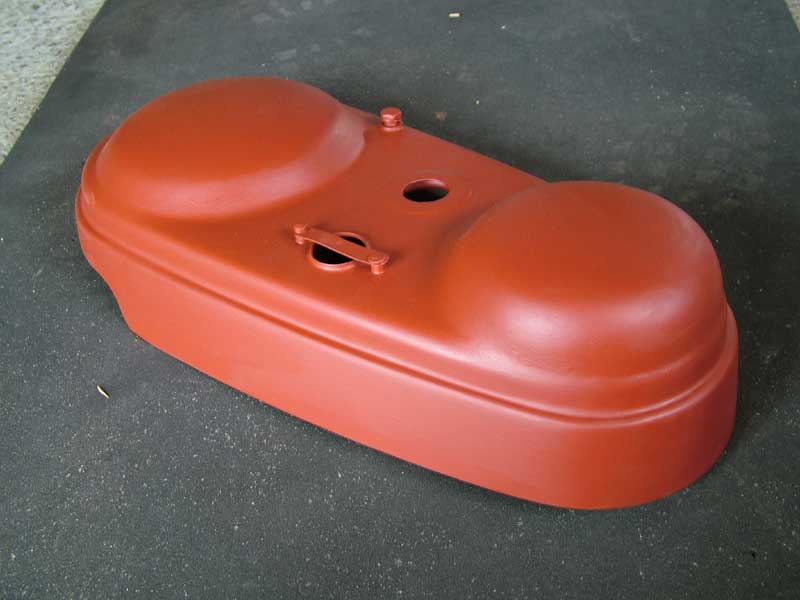
The outer primary chain-case is a very prominent feature on the finished bike, so mine needed paint stripping and all the many small dents and gouges removing and filling, which took most of one afternoon outside in the lovely Orkney sunshine - ah! this is the life! The central mounting hole had been damaged by over tightening, but a few minutes on the press, with some bits of wood soon rectified that little problem. A new rubber sealing band will obviously be fitted, but in an attempt to 'engineer' out some of the shortcomings of the original design, I will make a thicker stainless steel washer with a machined groove under the face which rests against the outer casing, so that an O ring can be used to keep the contents inside!
The top fork shrouds were donated by a friend some years back, but were knocked about a bit and had been badly repaired on the top edge. This needed a bit of sorting by cutting through the brazed up repairs and straightening before silver soldering the saw cut. It was then a matter of careful filling and rubbing down, prior to the now customary coats of brushed on Bondaprimer. I still use this fantastic paint first suggested to me by the late Wilf Batty over 40 years ago. I always brush the first coats on and then lightly de-nib the surface prior to spray priming the next coat. This can then be rubbed down until you just see the odd little red streak coming through. A further thin primer coat leaves the part ready for final finishing. It all sounds a bit tedious (which it is!) but the results are well worth the effort.
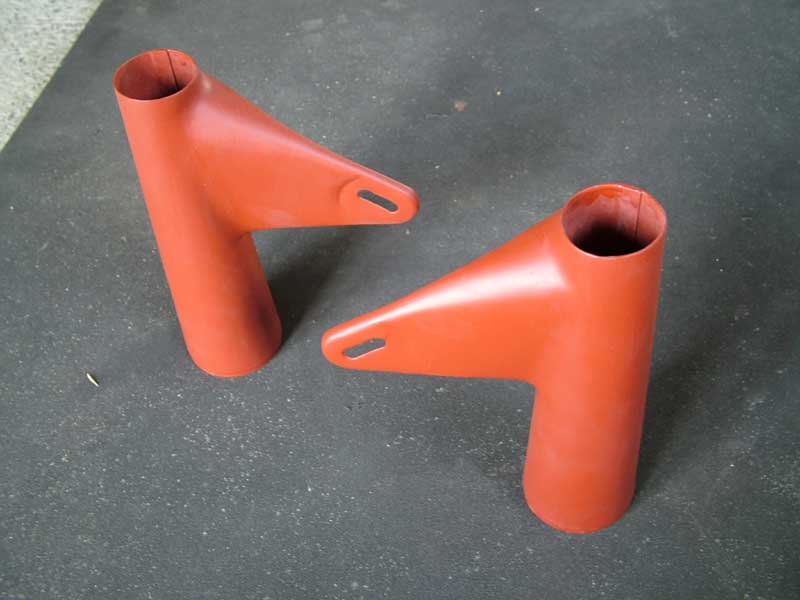
They turned out quite well, but still need drilling for the 'Roadholder' badges to be fitted
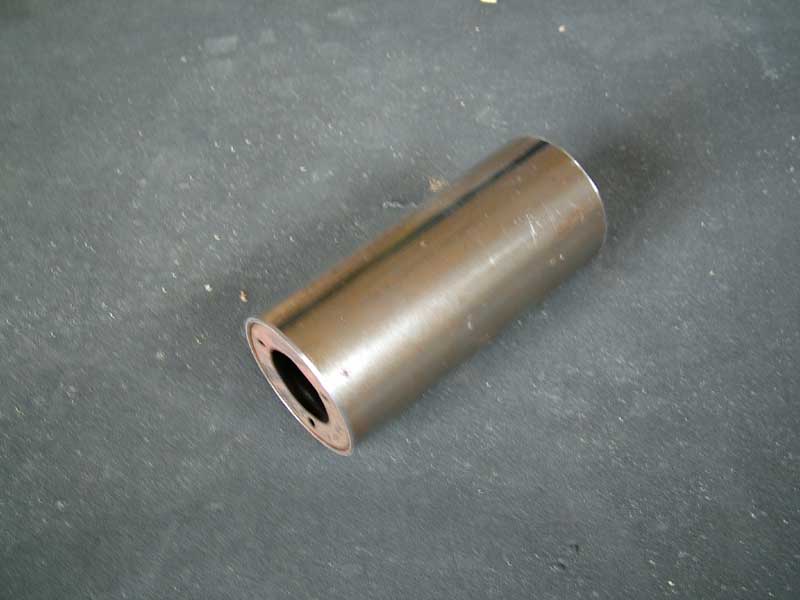
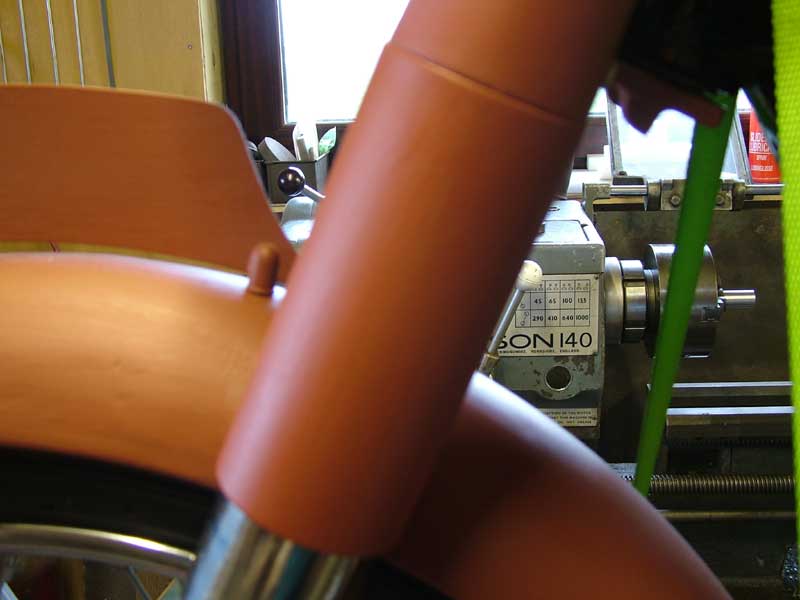
The only lower shrouds I had were in a very sorry state, but I found a piece of new exhaust tubing of exactly the right size, so I separated the bits of rotten outer tube, to end up with the locating rings which could now be brazed into the new tube. The following shot shows the new tube slipped over the original locating collar, ready for permanent attachment.
.....and then the finished (primed) article fitted in place
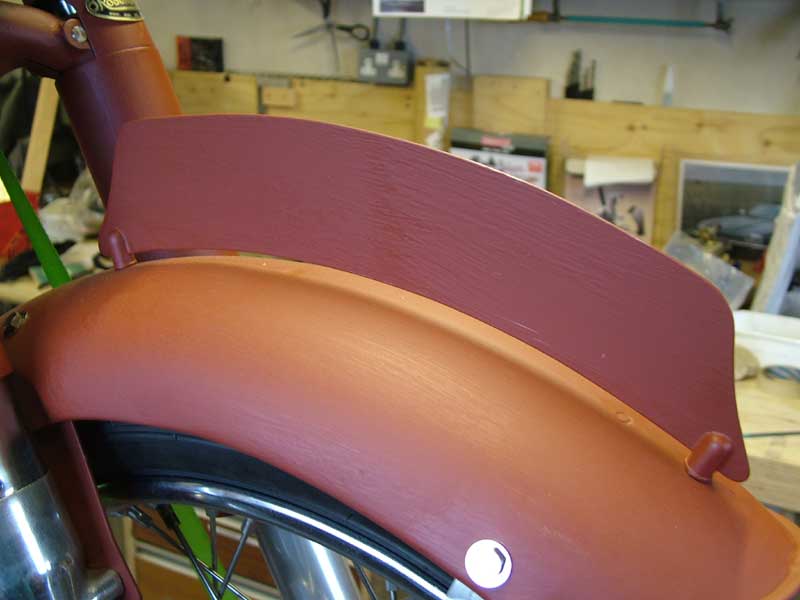
As mentioned earlier, the front number plate was a simple little cutting and filing job from a piece of scrap stainless, plus a couple of turned pillars (again in stainless) silver soldered together.
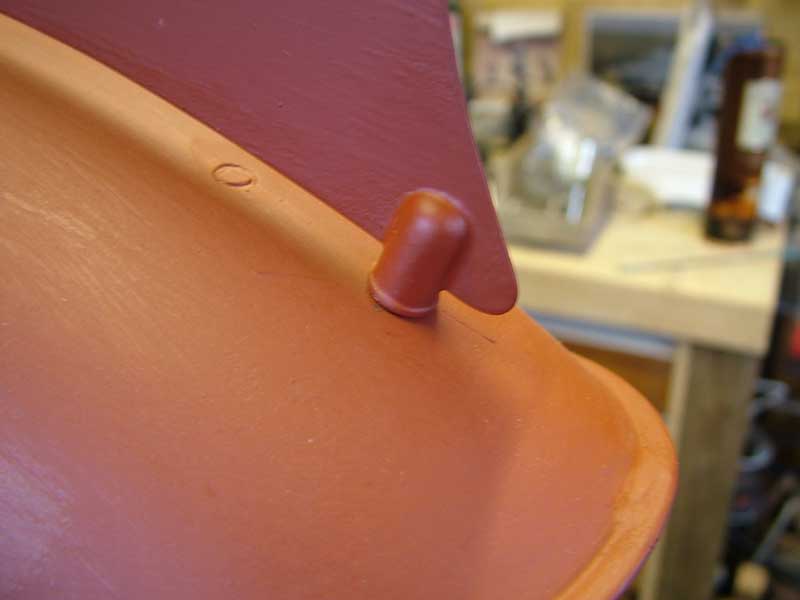
This shows the detail of the pillar and also the little repair of a previous hole - a little top hat plug, silver soldered underneath ready for final filling. I also silver soldered up the split lip at the leading edge of the guard - that still needs a bit of filling and re-shaping.