Re-finishing motorcycle petrol tanks
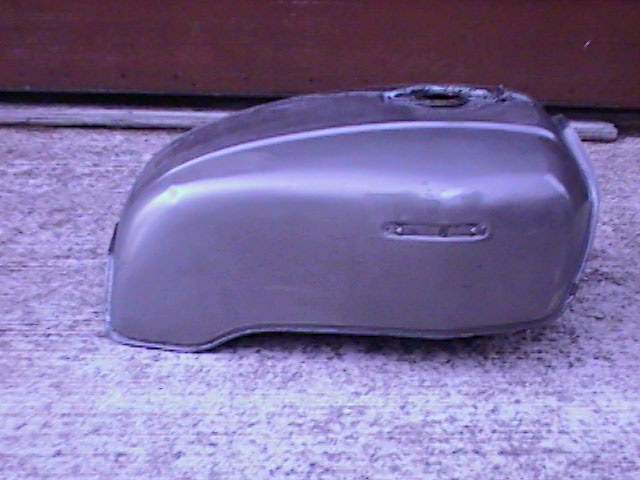
Assuming that your tank is not like a colander, the first step is to remove the layers of paint from all over it. I never assume that what appears to be a fairly good finish, perhaps only wanting a couple dents filling, will accept more paint and still look good. I also do not spray 2 pack, but any good bodyshop will do it for you, as long as you realise that they cannot accept any responsibility for the preparation work which you have done.
The eagle eyed reader will notice that the tank in the pictures changes from 400/4 to CBX to 350/4, this is because I only got round to taking pictures at those points when doing a variety of different tanks.
Some people opt for the apparently easy way of sandblasting - this is fine if all of the holes are properly plugged, but it does produce a lot of heat and can easily distort the shape, and you have no control over what is happening to your precious, maybe irreplaceable tank. I prefer the somewhat tedious alternative of paint stripping and rust proofing by hand.
Stage One - removing the old paint
Stage Two - rust proofing
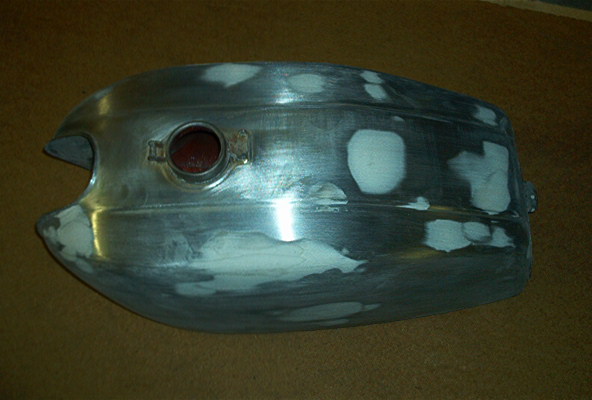
Stage Three - filling the dents

Stage Four - Blocking down the primer
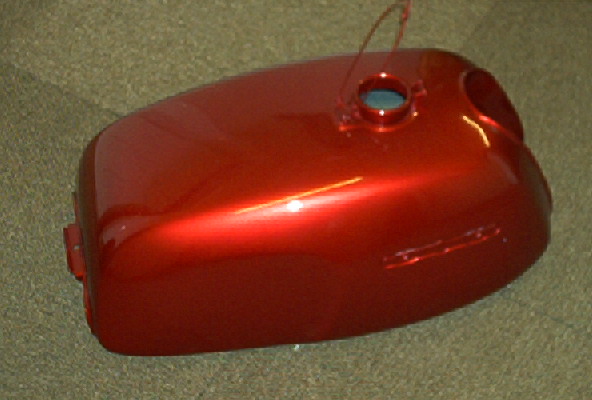
Stage Five - The colour coats
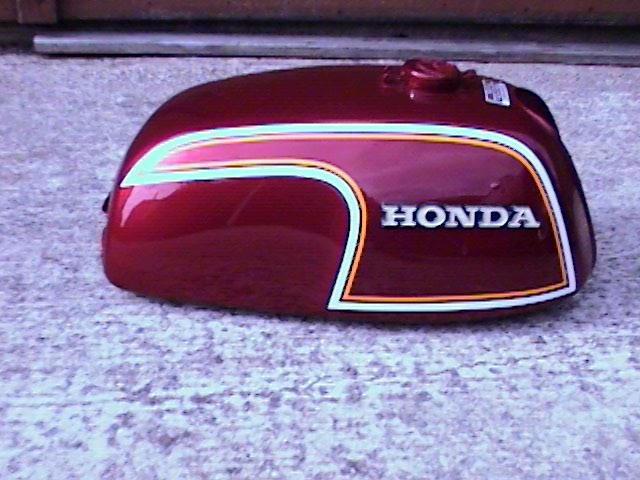
The Decals on the 350/4 tank are in 3 pieces on each side, with an overlap. The thin clear lacquer 'holding coat' must be dulled off with grey 'Scotchbrite' to key the surface. the surface now needs to be wetted with a mist of water, mixed with the tiniest drop of washing up liquid. This allows the decals to be slid around on the tank into the correct position. The tank should now be left to dry for a few days, before being fixed with another coat of clear 2 pack to seal everything
Stage Six - Applying the Decals
Stage Seven - The clear lacquer
I have made a tool for putting the rivet back into the cap hinge

The rivets were made on the lathe from stainless and I drilled a small 'countersink' in the small end. The rivet is passed through the cap and the tool is positioned with the dimple covering the round head of the rivet and the point on the screwed bolt is then wound into the countersink, thus swaging out the end to prevent it from coming out.
Stage Eight - fitting the hardware